
Let’s delve into bicycle chains, examining their types, components, sizes, and tolerances. This exploration will aid you in selecting the ideal chain for your bike. Additionally, we’ll furnish you with a step-by-step guide on installing a new chain and conducting wear assessments, ensuring your bicycle remains in peak condition.
Bike enthusiasts unanimously recognize the pivotal role of the bicycle chain as one of the most critical components in any cycling experience. An ill-suited bicycle chain can not only mar your journey but potentially pose serious safety hazards. When embarking on the quest for the perfect bicycle chain, it’s imperative to focus on three primary factors: chain length, coating, and manufacturing distinctions.
Although your bike is initially equipped with a chain, avid cyclists understand that replacements become inevitable with time and usage. This guide aims to acquaint you with the diverse array of bicycle chain types available and equip you with the knowledge to select the ideal one, ensuring each ride is a seamless and enjoyable experience.
Table of Contents
Bicycle chains components
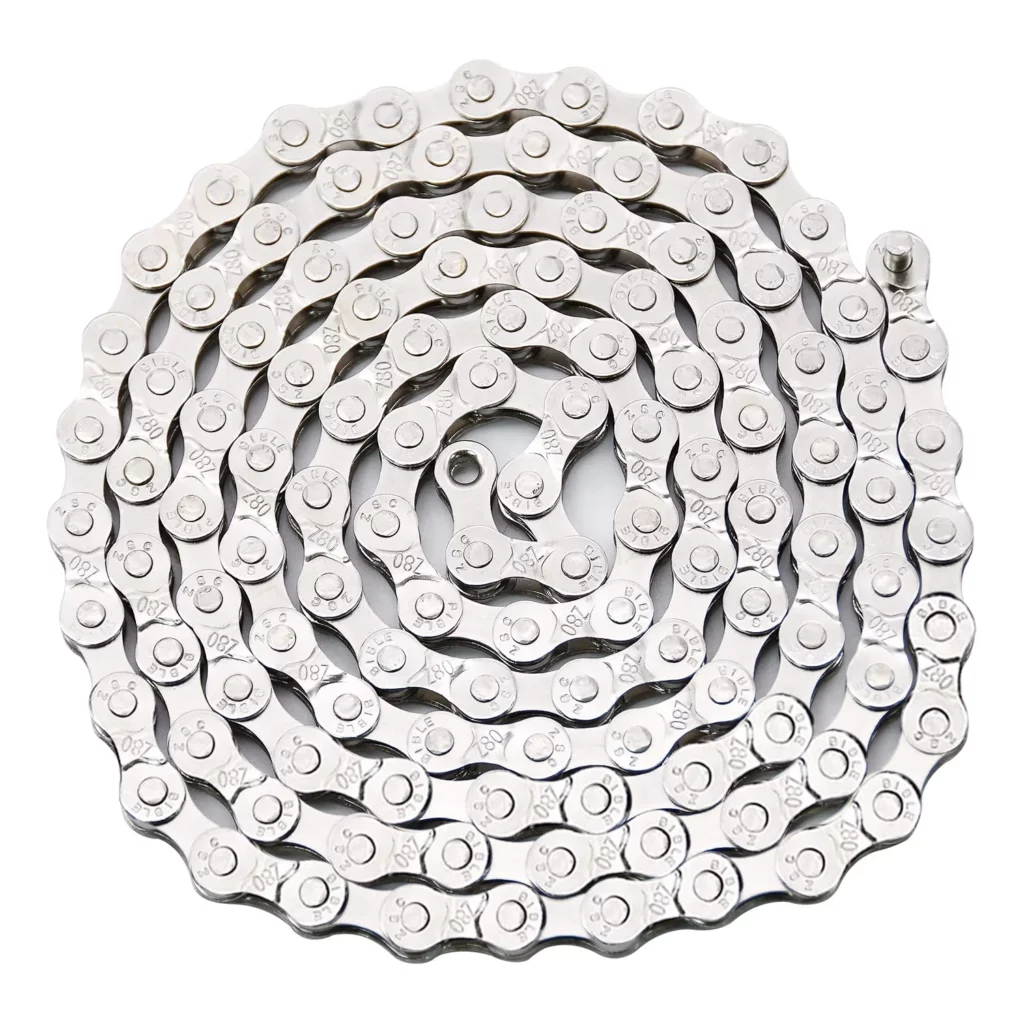
Bicycle chains comprise three fundamental components: side links, cylindrical rollers, and roller chains (on Amazon). Among these, the roller chain plays a central role in a bicycle’s operation. While cycling, your leg power propels the roller chain, seamlessly linking the various crank components to the front sprocket. The cohesion of these chains relies on the presence of side links and rollers.
When you embark on the journey of selecting the right bicycle chain, it’s crucial to pay heed to specific aspects. Key considerations encompass the chain’s coatings, composition, and the manufacturing processes employed to optimize their performance.
Bicycle chain coatings

Material selection is a pivotal facet of bicycle chain construction. These materials are subject to grease and oil applications and must endure the test of time. The choice of material significantly influences the price of the chain.
Stainless steel emerges as the prevalent material for bicycle chains, often fortified with additional hardening to withstand the rigors of chain lubrication. Determining the absolute best material is elusive, as every brand strives to craft the ultimate chain coating, underscoring the pivotal role of this component.
Manufacturers present these chains with informative labeling, emphasizing the coatings’ quality and attributes. Terms like “nickel-plated” or “hard stainless steel” serve as indicators of the desired chain characteristics. The chief objective of these chain coatings remains twofold: wear resistance and resilience to grease and oil encountered during bicycle operation.
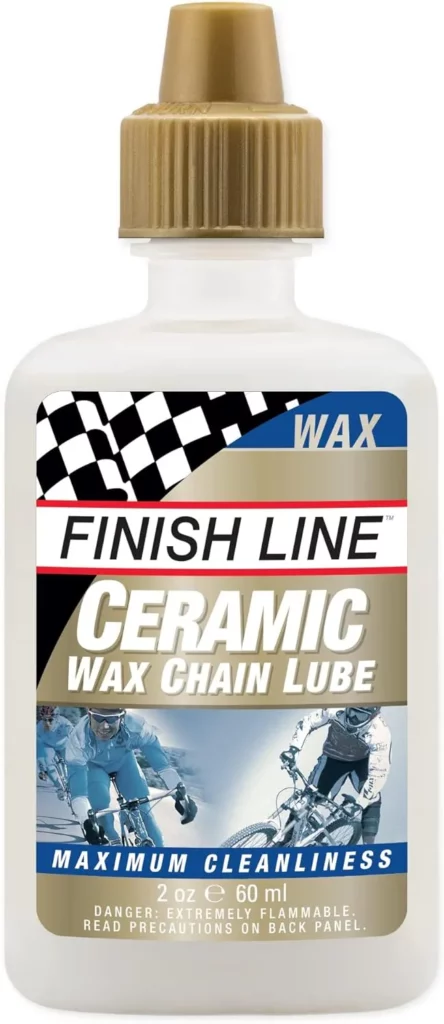
For those seeking an added layer of protection, liquid coatings are available for separate purchase. Optimal coatings should deter dirt accumulation. Coatings such as wax or Teflon, known for their dry properties, prove easiest to maintain in terms of cleanliness.
Notably, bicycle chain maintenance hinges on diligent cleaning practices. Prior to coating, thorough chain cleaning is essential, and post-coating, a meticulous wipe-down is imperative. Alternatively, if using cost-effective chains, frequent replacement may serve as a viable maintenance strategy.
Sizes of bike chains

Determining the appropriate size of a bicycle chain demands meticulous research, often occupying a significant portion of your preparatory efforts. On average, a typical bike chain comprises around 116 links. Yet, these chains are a maze of moving parts, especially for dedicated riders. Matching the chain to your bike’s gear count becomes paramount.
The chain’s length must align precisely with your gear setup to prevent operational issues. A chain that’s too long risks introducing slack, potentially impeding your speed or, in more dire scenarios, leading to accidents. To navigate this sizing challenge, various resources, such as bike chain charts and sizing guidelines, come into play.
Crucial factors include link length, total length, internal width, and external width. A standard link length today typically measures half an inch. Total length is quantified by the link count.
Optimally, assessing the old chain and replicating its length proves an effective sizing method. Additionally, examining the sprockets and cogs for numerical imprints aids in determining the chain’s required length. These vital numbers are often imprinted on the bike components themselves.
You can gauge the distance between the crank’s midpoint and the rear axle’s end to derive a length measurement. Alternatively, counting the teeth on the sprockets offers another reliable method for sizing the chain appropriately.
How to check for chain wear
When the telltale signs of chain wear, also known as chain stretch, manifest, it’s a clear indicator that a replacement is in order. Chain wear primarily stems from the gradual erosion of material at the chain’s pins. This wear accrues from pedaling and the natural stretching of link spacing due to standard wear and tear. When this deterioration occurs, the chain’s length increases, rendering it incompatible with the bicycle.
Persisting with a worn chain on your bike can lead to detrimental consequences for both the sprockets and derailleurs. Pedaling with a stretched chain prompts it to slip over the teeth, disrupting the bike’s performance and potentially causing more extensive damage.
Prevention lies in regular maintenance and lubrication of your bicycle chain. The cleanliness of the chain is pivotal to its longevity. Remarkably, the impact of factors like the bike’s load, weight, or speed pales in comparison to the influence of diligent chain maintenance.
Caring for your bicycle chain can significantly extend its lifespan. Stainless steel and nickel-plated chains stand as recommended options for durability. When wear and tear afflict a chain, it tends to elongate rather than contract. A discrepancy of even one-sixteenth of an inch in length should prompt consideration of a new chain.
Maintaining the chain’s synchronization with the sprockets is crucial. Neglecting sprocket upkeep can lead to their deterioration, which may necessitate replacement. Fortunately, changing cassettes and chainrings is a relatively straightforward and cost-effective endeavor compared to acquiring an entirely new bike. If you encounter persistent chain skipping even after a chain replacement, scrutinizing the condition of the bike’s sprocket teeth becomes imperative, as they too may require attention. Researching and replacing worn sprockets can prove to be a more economical alternative than investing in a new bicycle, which can carry a hefty price tag.
How to put on a new chain
Installing a new bicycle chain is a skill that can be acquired with a few practice runs, ultimately transforming you into a proficient chain replacement expert. There are instances where chain reassembly suffices, while others necessitate procuring a new chain. Maintaining a stock of spare chain links can prove beneficial, ensuring you’re well-prepared for any eventuality.
Begin by inspecting the chain rings to ensure they’re free from any missing teeth.
For chains that are not severely deteriorated, shift the rear derailleur into its high gear position and the front derailleur into its low gear setting. This alignment should position both derailleurs over the drivetrain, reducing tension on the chains and cables.
Commence the installation from the rear of the bicycle, treating the chain like a drawn bowstring, and guide it into the pulley. As it extends over the high gear, align the chain with the teeth on the bike, working from the back toward the front. Once it’s in the correct position, eliminate any slack by pulling it over the front of the chainring.
Next, ensure that the teeth mesh smoothly with the links of the bike chain. After achieving this alignment, give the bike a few feet of pedaling to confirm the chain’s secure attachment. Avoid contact with the bicycle’s drivetrain while the chain is in motion. Before embarking on your regular rides, remember to reset the gears to their standard positions. Test the bike chain in a low gear configuration to ensure its proper functioning before hitting the trails.
Determining the chain’s length adequacy is a straightforward process. You can make adjustments by adding or removing links, provided you’ve kept spare links on hand. Additionally, verify that the limit screws are appropriately tightened—too loose, and the chain slackens, while excessive tightness exerts undue pressure that can jeopardize the entire setup. To check this, shift into higher gears and apply the necessary pressure to assess if the chain remains secure. Adjust the screws as needed to strike the right balance.
You might want to read also: How to Find Master Link on a Bike Chain (Easy Way)