
Removing the battery on your Rad Power bike can be a challenging task, especially if you’re a first-time user. At first, you may find it difficult to detach the battery from the bike, but with practice and a few tips, you’ll be able to do it confidently. In this article, I’ll provide you with some helpful suggestions and tools to make the process easier, even if you don’t have much strength.
To begin with, let’s take a look at a quick summary of how to remove the Rad battery. Later on, we’ll delve deeper into additional tips, tricks, and troubleshooting techniques.
Table of Contents
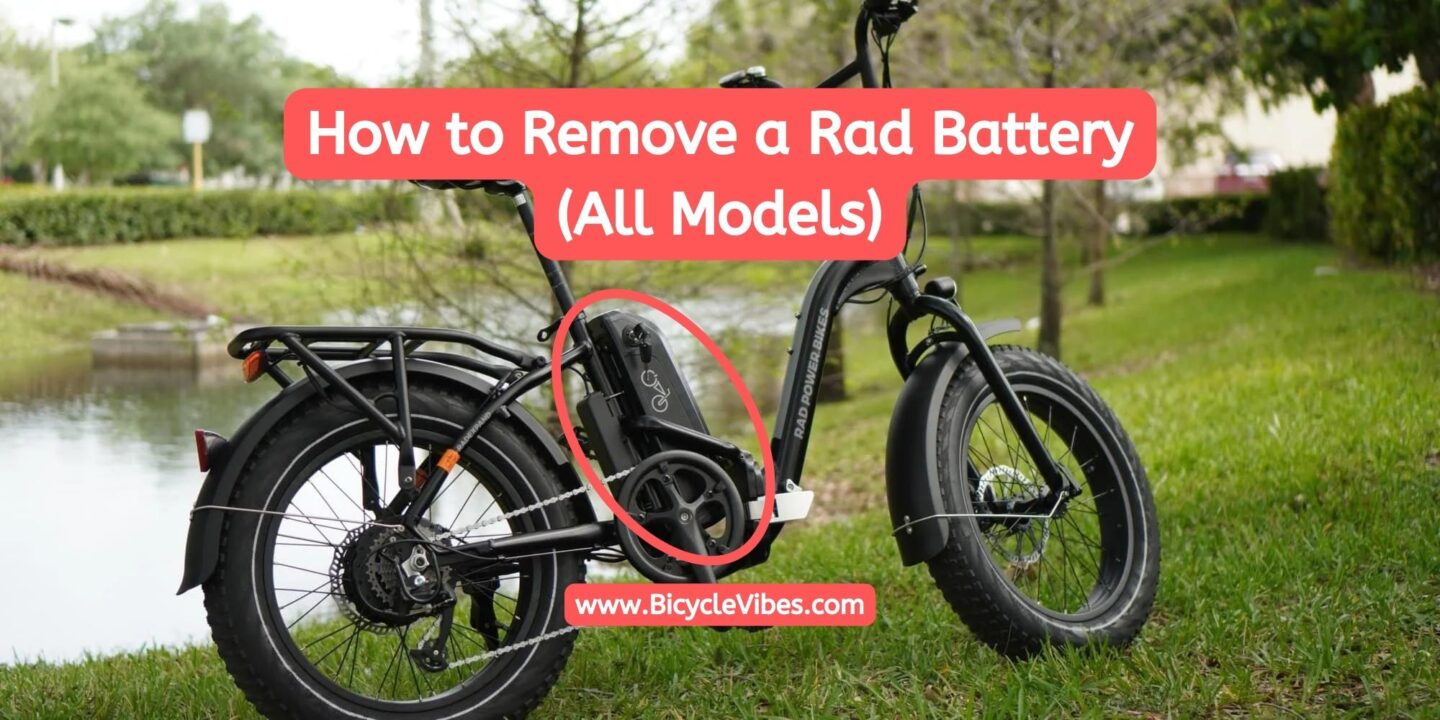
Steps to Remove a Rad Battery
If you’re having trouble removing the battery on your Rad Power bike, here are some detailed instructions to help you:
Firstly, insert the key into the battery and push it inward. Turn the key all the way to the left (counter-clockwise). Listen for two clicks. If the key won’t turn all the way, make sure you’re pressing it toward the battery like when starting a car. In rare cases, you may need to give it a little jiggle.
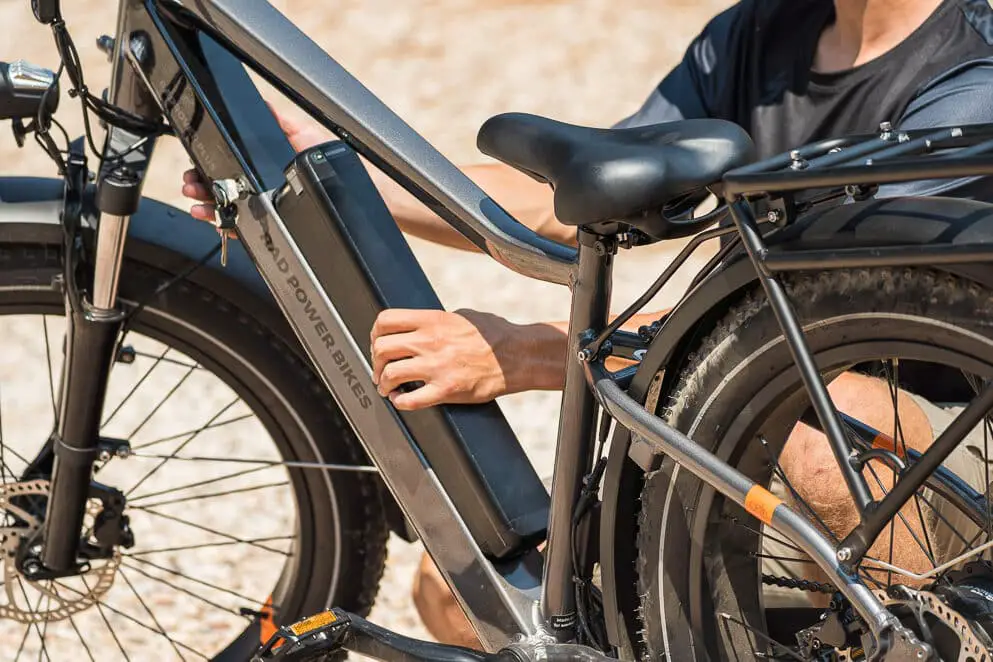
Once the battery is in the “unlocked” position, remove the key entirely. Now, with one hand, grip the battery, and let your fingers wrap around to the bottom of the battery. Use the hand that is wrapping around the bottom to push the battery upward. With the other hand, grip the sides and pull the battery upward. You may need to give it a good tug, and don’t be afraid to use a little bit of muscle.
In some instances, you may need to remove the seat, tilt the rear lights, or make sure the seat post clamp isn’t in the way.
With these steps, you should be able to remove the battery from your Rad Power bike with ease. Remember, practice makes perfect, and with time, you’ll be able to do it quickly and confidently.
What Makes Removing Rad Batteries Difficult?
Rad batteries are designed to be securely mounted to the bike to prevent any mishaps during a ride. The battery attachment method involves using a deadbolt, which is what the “lock” and “unlock” positions represent when attaching and removing the battery.
Although the symbols on the Rad Battery can be confusing, it’s not necessary to mark the key positions with paint or nail polish. All you need to remember is two positions: left and right. When removing the battery, turn the key all the way to the left, and when you’re about to ride, turn the key all the way to the right. Remember to never keep the key in the battery.
Since the batteries are meant to be firmly secured, they may require some extra effort to remove. Don’t hesitate to use some muscle. The first few times may be difficult, but it will become easier with use.
To remove your battery from your RadRover, Rad Mini, or any other model, the secret is to push with your hand from the bottom of the battery. If you only try to pull from the sides, it will be more challenging. So, remember to grip the battery with one hand, so that your fingers wrap around the bottom of the battery, pushing it upward. With the other hand, grip the sides and pull the battery upward. By using this technique, you’ll be able to remove the battery without any trouble.
What should be done if the battery still won’t move?
Even if you’ve followed all the steps correctly, your battery may still be too tight for some reason, or you might not have enough strength to remove it.
Some riders have suggested using a little bit of grease or lubricant to help with this issue. There are different products available in the market, each with their pros and cons, but all seem to help. By using these products, you can make the process of removing your battery much easier.
If adding lubricant isn’t an option, there’s another technique that some riders have used to successfully remove the battery. They used some type of pipe or screwdriver, covered in cloth to protect the battery, to use as a lever to push the battery upward. By applying upward pressure, you can loosen the grip of the battery and remove it with ease.
Do I Need to Remove the Seat?
Some riders have reported needing to remove the seat to remove the battery from their bike. However, this is not a problem with all Rad Power bike models, such as the Rad Mini. However, it’s possible that you may need to remove the seat if it’s set to a really low position (which is why bike seats are supposed to be set at a high position). It’s important to ensure that the seat post clamp isn’t in the way when you attempt to remove the battery.
READ ALSO: How to Charge an Electric Bike with a Solar Panel?
Should I Keep the Battery on or off the Bike?
I would recommend storing your Rad battery separate from your bike. For me, I prefer to store my battery indoors and my Rad Mini in the garage for several reasons.
Firstly, it’s for security purposes. Rad batteries are not cheap (you can check the Rad Battery price) and are around 1/3 the cost of the bike itself. Electric bikes are more prone to theft, and having the expensive battery separate from the expensive bike can reduce the damage in case the bike gets stolen.
Secondly, I prefer to charge my battery indoors. While I haven’t experienced any issues with Rad batteries, other bikes have had battery problems. If my Rad battery overheats or starts smoking, I can immediately unplug it. I always charge my battery where I can see it (you can also check out other places where you can charge your e-bike battery).
Lastly, I live in New Hampshire, where the temperature can fluctuate a lot. Having a stable temperature indoors is much better for the battery’s longevity.